Thursday, June 5, 2014

Mad Men - I watch for the housewares

I have to admit my most exciting moments in watching Mad Men are when I recognize a familiar face, namely one of my favorite vintage housewares.  My husband thinks I am absolute nut when I blurt "Oh my God!!! Megan is drinking wine from a Libbey Accent wine glass! CAN YOU BELIEVE IT!"

Now my inner Libbey nerd is thinking "Wow. Megan has a secret time machine!"  The wine glass she drinks from one her California deck in 1969 appears to be a tawny Libbey Accent wine glass, but as far as I can tell Accent was not introduced until  April 1970.  Or maybe she just has inside connections.  Maybe Don had the Libbey account and they never mention it on the show...
Source - libbeyhistory.com

Still, I was very excited to see one of my favorite Libbey patterns on the show.  And I am sure the set designers will continue to rock my world when season 7 resumes.  Until then I think I will look back at each episode.  More to come.


Sunday, August 18, 2013

Libbey Windblown Now I Know Thy Name

I have come across this pattern of Libby glass a few times and could never find the pattern name.   I identified the decoration as dandelion seeds floating through the air.  So I searched dandelion, seed, wisp, ruderal, all to no avail.  Now with the help of the catalogs on libbeyhistory.com I finally know!
Thy name is Windblown

From 1962 catalog


Friday, August 16, 2013

Libbey Resource Heaven

I am in vintage Libbey glass resource heaven now that I have discovered Libbey History!  Up to now I have relied on eBay and replacements.com to research Libbey glass patterns.  Sometimes I come up empty on both accounts because I find a pattern that is not common, hasn't sold lately, or has an official Libbey name completely unrelated to how I would describe it.
I am especially gaga over their amazing catalog page.  I don't want to admit the hours I have spend this week looking at them.
Soon I will know your name animal pilsners!!!

Thursday, August 8, 2013

let the cosplay begin!

Ever since my first con I knew the day would come when I would start planning my first cosplay.  Four-day passes to Star Wars Celebration VII have been purchased, the hotel has been booked, time to set aside the nerdy t-shirt and jeans and start planning.


First off, now that I am going to do this whatever I do is going to be detailed and well made. Here are the preliminary considerations -

1. What genre?  Our first thought was to do Visitors from the original V, but now that we are planning a trip across the country to a Star Wars con AND my husband lives and breathes Star Wars, Star Wars it is!  Specifically something from the original trilogy.


2. As a couple do we match or go our own way?  We are still discussing this...


3.  Cost considerations - I want it to look good, but I don't want to spend thousands of dollars.
Sadly this leaves out being Storm Troopers...


 4.  Comfort - physically and mentally.  I want to be comfortable so I can have a good time and enjoy myself. It also has to be something that I do not mind wearing while being photographed by total strangers.  No Slave Leia.

5.  It has to be something I can take onto a plane or safely ship to the hotel.  

So much to plan!  Ideally I want to be ready by NYCC 2014 so we can do a test run.  


Tuesday, August 6, 2013

Steve's Salsa


Until the blight struck the greenhouse we had a plethora of tomatoes. Our solution was to eat fresh salsa as often as possible.

Steve's Salsa

Tomatoes, de-seeded and diced, as much as you have fresh out of the garden
Onion - dice into small pieces
Fresh Cilantro (although we sometimes cheat and use dried)
Lime Juice - we squirt it until it is right
Jalapeno - we use 1 medium
Salt

I firmly believe that salsa is a total to-taste recipe. First dice up your tomatoes, then add onions, cilantro, jalapeno, lime juice, and salt to taste.

time flies...

Has it been over 2 1/2 years since I posted last?!?  I still cook, mainly soups now (hello weight watchers goodbye cake)...
I have lots of ideas of what I want to post -
  • documenting my Pyrex collection
  • exploring Libbey glass patterns
  • making my other half get creative and post about Atari and other vintage gaming systems
  • random things I find
  • things I keep
  • confessions of a picker
That lead to me day dreaming about blog themes for different days of the week - 5200 Friday, 2600 Tuesday (or Thursday...), What is it Wednesday, Soup Sunday... I can't come up with anything for Pyrex (other than Pyrex Porn).  

Thursday, December 16, 2010

Fun with trifles

It has been my observation that the frumpy trifle of our youth is now a hip suburban dessert. Pretty, easy to make, yummy to boot... what is not to like?
New trifle bowl in hand,a hankering for gingerbread, and random jar of lemon curd in hand I entered the glamorous world of trifles.  I found inspiration from the internets, this recipe at Epicurious in particular is the source of the gingerbread recipe.


Lemon Ginger Trifle

Gingerbread Cake:
2 cups all-purpose flour
1 teaspoon baking soda
2 teaspoons ground ginger
1 teaspoon cinnamon
1/2 teaspoon or so of freshly ground nutmeg
1/2 teaspoon salt
1 stick unsalted butter, soft
1 cup packed dark brown sugar or light if you don't have dark
1 large egg
1/2 cup mild molasses
3/4 cup well-shaken buttermilk, sometimes I cheat and use powdered
1/2 cup hot water (just but glass measuring cup with water in microwave)

Creamy Part:
2 pints of heavy cream
vanilla and sugar to taste
1 jar of lemon curd (10 oz)
Pecans or candied walnuts/pecans (optional)
Make gingerbread, you can do this a day ahead of the trifle
  • Start by preheating the oven to 350°F..
  • In a medium bowl, mix together the flour, baking soda, spices, and salt, set aside.
  • In a stand mixer beat the butter and brown sugar at medium speed until pale and fluffy, add the egg, it will fluff up more and get paler.  Then add the molasses and buttermilk, beat until smooth.  Add the hot water, it will look curdly, mix a minute or so more until less curdly looking.
  • Pour into a buttered and floured 9 by 13 pan.  I am getting lazy, I use the baking Pam that has the flour in it already.
  • Bake until done about 40 minutes.
  • Cool (obviously) before making the trifle.

Preparing the trifle:
  • Whip the heavy cream until you get nice peaks, add sugar and vanilla to taste, put into a bowl and set aside.  I go light on the sugar because the lemon curd is sweet.

  • Mix the lemon curd until light and fluffy, about a minute.  Fold in half of the whipped cream.
  • Layer hand crumbled gingerbread on the bottom of the trifle bowl, cover with lemon mixture, cover that with some whipped cream. Sprinkle some nuts on top if you like.  Repeat until you run out of ingredients. 


    Sunday, November 28, 2010

    Turkey Tetrazinni

    Finally.  I have leftovers from Thanksgiving! My elaborate plan of hosting Thanksgiving and roasting a turkey so that I would be able to make turkey tetrazinni the weekend after Thanksgiving worked. Of all the things my mom would make growing up, I remember this the most.  Here is my version using what I have on hand. 

    Turkey Tetrazinni

    1 package of long pasta cooked al dente, I had some long forgotten fettuccine, my mom always used spaghetti 
    1 package of mushrooms (maybe questionable in this case), questionable portions cut off and then sliced
    onion, about half, diced
    1/4 cup plus four tablespoons of unsalted butter (if you have salted that is ok, just add less salt later)
    1 red pepper, diced
    1/2 cup unsalted butter
    1 cup milk
    1 cup half and half
    2 cups of broth (I used leftover turkey broth)
    3 cups of turkey, cut into small pieces
    1/2 plus 1/3 cup grated Parmesan cheese
    1/3 cups of cracker crumbs (you can use bread crumbs)
    salt and pepper to taste
    freshly ground nutmeg
    some leftover fresh sage and parsley

    1.  Cook the pasta until al dente and set aside.

    2.  Cook the trifecta combo of onion, pepper, and mushrooms in a couple of tablespoons of butter until the juices have evaporated. Remove from pan, set aside in a bowl, take care to get all the bits out of the pan.

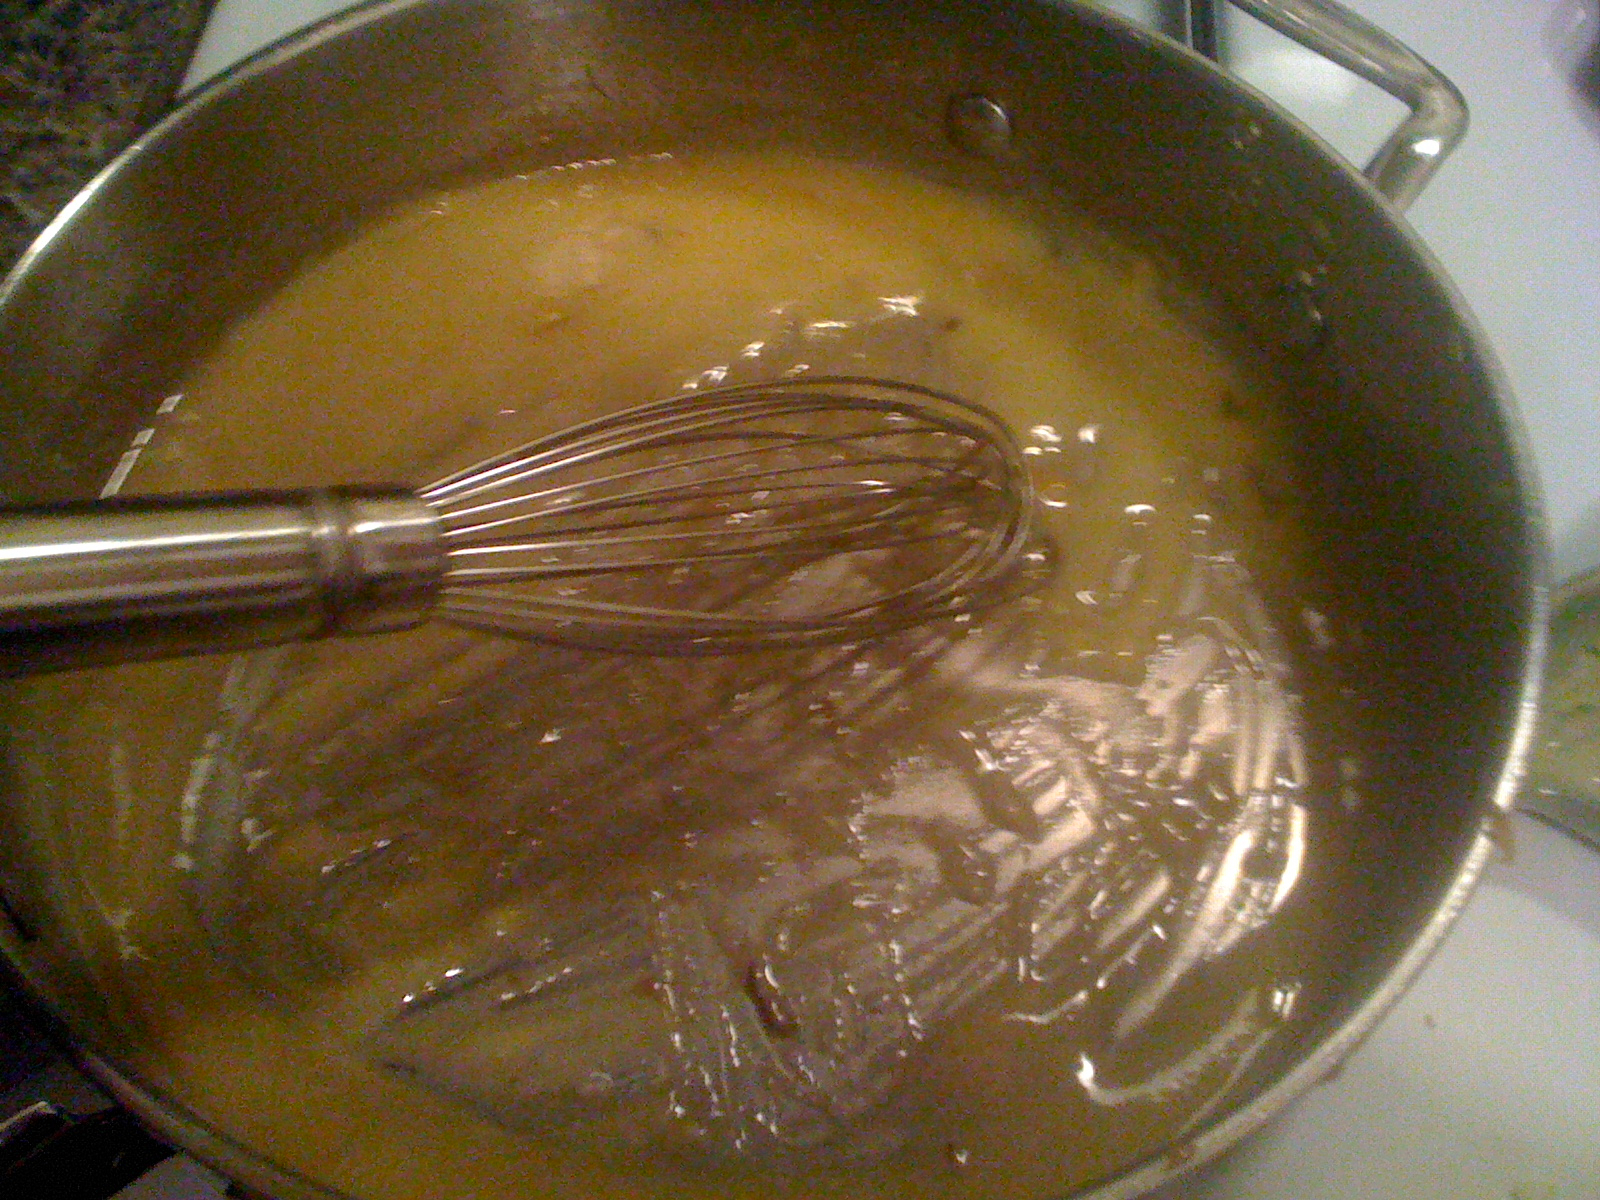
    3.  Melt the butter in the warm pan used to saute the trifecta.  My new to me stove is gas, I love that I can control the heat so well.  If you have an electric stove you can set the pan on a trivet and let the butter melt.  Stir in the flour, cook for a couple of minutes, mix/whisk well.

    4.  Add the broth, milk, and half and half to the butter/flour mixture slowly.  I start with the broth and add and whisk.  Simmer for 5 minutes or so.  At this point you can turn the oven on to preheat to 350 degrees.

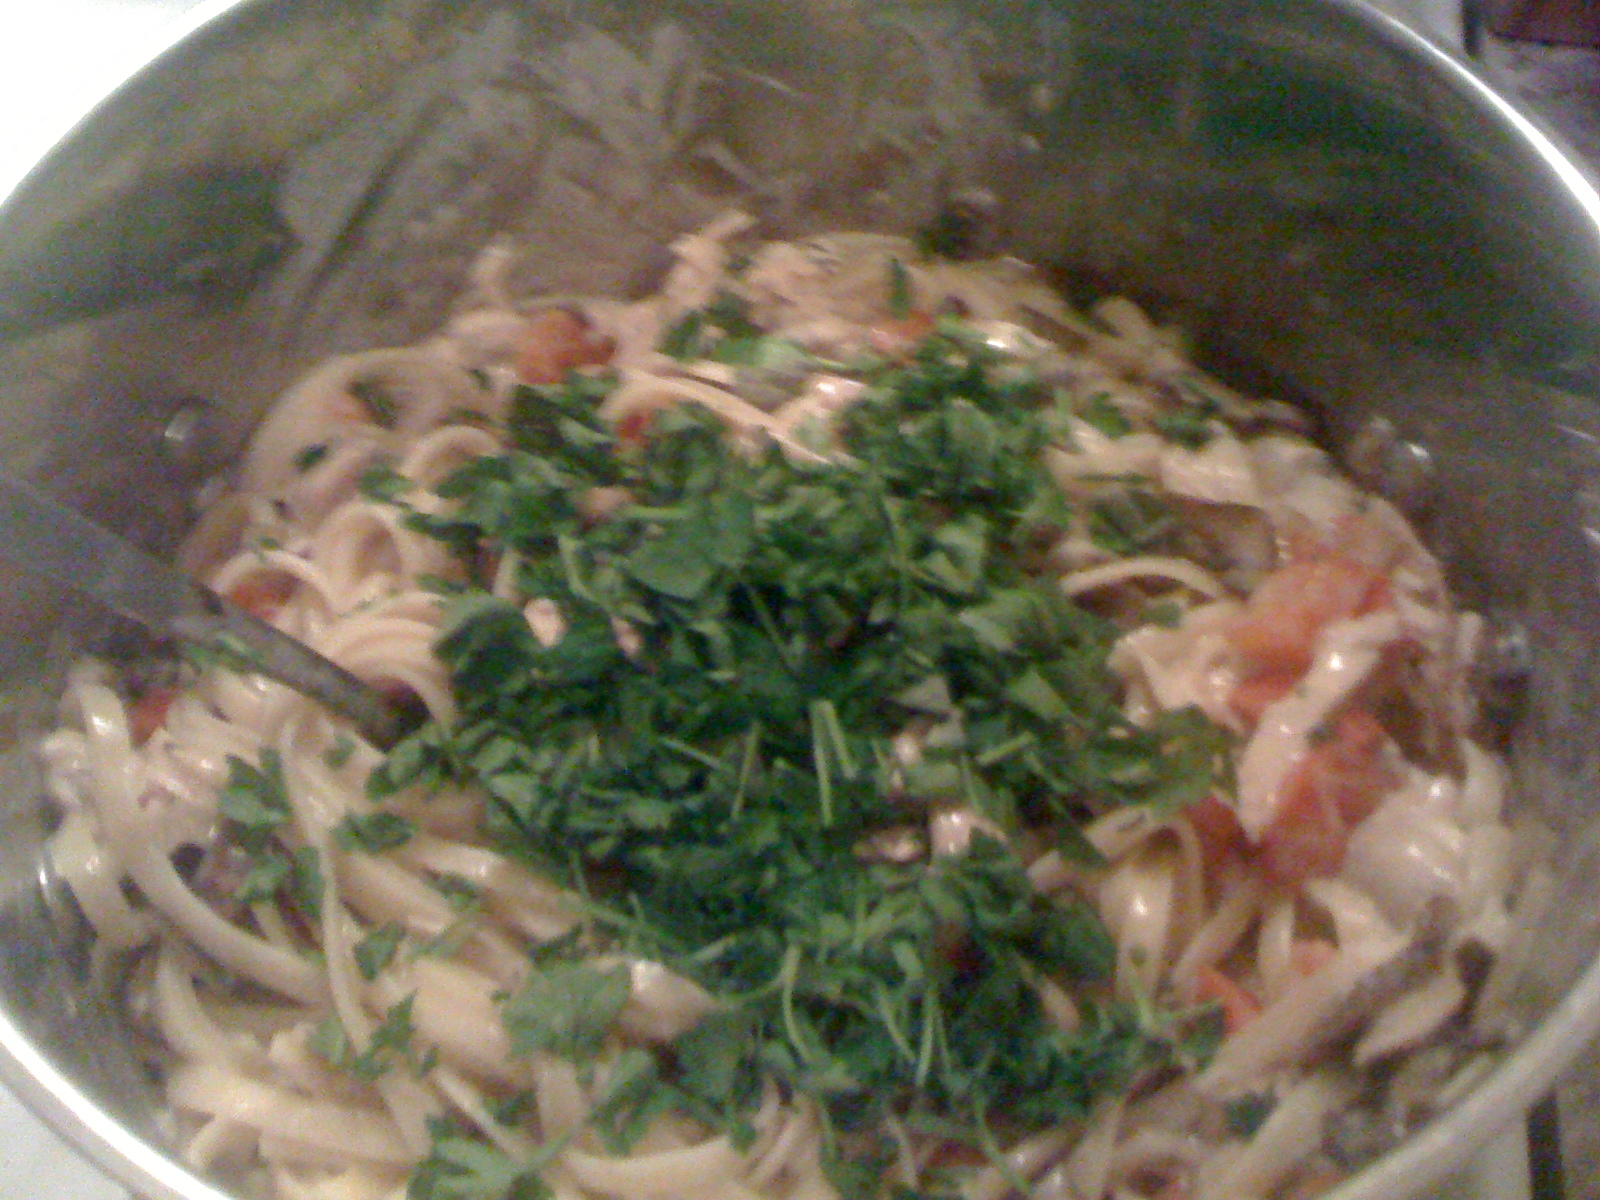
    5.  Mix together the sauce, veggies, turkey, fresh herbs, and grated Parmesan and place in a casserole dish.

    6.  Melt 2 tablespoons of butter, add cracker crumbs and grated cheese.  Mix until crumbly, top pasta with this.

    7.  Bake 30 to 40 minutes until bubbly.

    Saturday, November 27, 2010

    breaking the rule

    My self-imposed rule is that I would only post recipes I made up or altered significantly... well this pecan pie is just too good to not share.  I am addicted.  I had it in my head pecan pie was hard to make, I was so wrong.  It is easy and so delicious.
    Here is the link to The Pioneer Woman's Pecan Pie

    Friday, August 27, 2010

    framepoloza craft idea number one

    The never-ending closet of frames is now empty and it's contents are spread across the living room.  Add a coupon to the craft store and you get an instant gratification craft project.


    Start with:
    Picture frame
    Foam board
    Cork roll
    Spray Glue
    Scissors
    Exacto knife or other razor blade-like cutter
    Metal ruler

    Step One - flip over the frame and measure the dimensions of the backing (the space where the foam board will go)


    Step Two - Cut the foam board to the needed dimensions.  I used a razor blade to do this, you might have to flip the foam board over and cut on the other side once it is cored, depending on the type/sharpness of knife you use to cut it.

    Step Three:  Cut cork from the roll to a dimension a little bigger than the foam board, if there is going to be a side with a larger overhang leave it and cut it later. I used scissors to cut the cork, be careful it is delicate and can rip when cutting.

    Step Four:  Find a friend for this part if you can - Spray glue the foam board.   Then lay the cork on top the tacky glue side of the foam board.  Start at one end and smooth as you go to work out any air bubbles. Trim off any excess cork.

    Step Five:  Fit the corked foam board into the frame, depending on the tightness of the fit you may or may not need to tack it in place. Hang and enjoy!

    Sunday, August 22, 2010

    Figilicous

    Faced with what to do with a box of beautiful figs I was drawn to the world of tarts. I came up with this quick and easy (and yummy) tart.


    Fig Tart
    3 or 4 fresh figs, sliced
    1 sheet of puff pastry
    1/2 cup sugar
    1/2 cup chopped walnuts
    Balsamic vinegar
    Egg and water wash (I used an egg and half eggshell full of water)
    • Heat over to 400 degrees Fahrenheit. 
    • Place the puff pastry on parchment paper on a flat baking surface (I used my PC bar pan).
    • Mix  the sugar, walnuts, and enough balsamic vinegar to make mixture pasty.  Spread mixture on puff pastry, layer fig slices on top. Fold the edges of the puff pastry over the filling and brush with egg and water wash.  
    • Bake until golden brown.
    • Cool and enjoy! 
    Note - you can double the recipe by using a whole box of puff pastry and a whole grocery store container of figs.


    Saturday, June 19, 2010

    Quick Picnic Fix

    Strawberry season is already coming to a close and I am loving my new strawberry huller gadget.  I have been making stuffed strawberries as yummy treats for us at home and today I am taking them to a picnic.  I think they will be a great finger food on such a hot day.

    Stuffed Strawberries

    "Pretty" strawberries

    8 oz package of cream cheese per 2 pounds of strawberries

    1/2 cup powdered sugar per each package of cream cheese

    Vanilla to taste

    Variation ingredients - coconut flakes, grated chocolate, crushed pecans

    How to make them:
    • Rinse and dry strawberries 
    • Hollow out the strawberries with a strawberry huller.  

    • Mix the cream cheese, powdered sugar, and vanilla together with a mixture until creamy.  I use a stand mixer and mixed for a few minutes to get an icing like consistency.
    • Put filling in a pastry bag or something like that - I used my Pampered Chef "Easy Accent Decorator"


    • Dip in coconut flakes (or grated chocolate or nuts) if wanted


    •  Refrigerate until you use them.  
    Ready to go!!  
    Variations -
    Dip tops in something like coconut when you are transporting so they don't smear up against each other
    You can dip the strawberries in melted chocolate after they are filled
    Add pineapple puree and coconut to the cream cheese mix for colada strawberries
    Add some pecans